
Rooting for More: How to Clone Tomato Plants for a Bigger, Better Harvest
Have you ever admired your neighbor’s lush tomato plants and thought, I wish mine looked like that? Good news—you can clone them! (With permission, of course.)
Propagating tomatoes from cuttings is not only simple and budget-friendly but also incredibly rewarding. Whether you want to multiply your favorite plant or keep your tomato garden going year-round, this easy technique will give you strong, productive plants with a head start on the growing season.
Why Propagate Tomatoes from Cuttings?
Most gardeners are familiar with starting houseplants or perennials from cuttings—but did you know that many vegetables can be propagated this way too? Tomato plants, in particular, are remarkably easy to clone. While growing from seed takes 6–8 weeks before seedlings are ready to transplant, cuttings can be ready in as little as 10–14 days. That’s a serious time (and money) saver.
It’s also a great way to overwinter your plants. Since tomatoes are technically perennials in warm climates, you can keep a cloned plant alive through the winter indoors and be ready to replant in the spring.
How to Take a Tomato Cutting
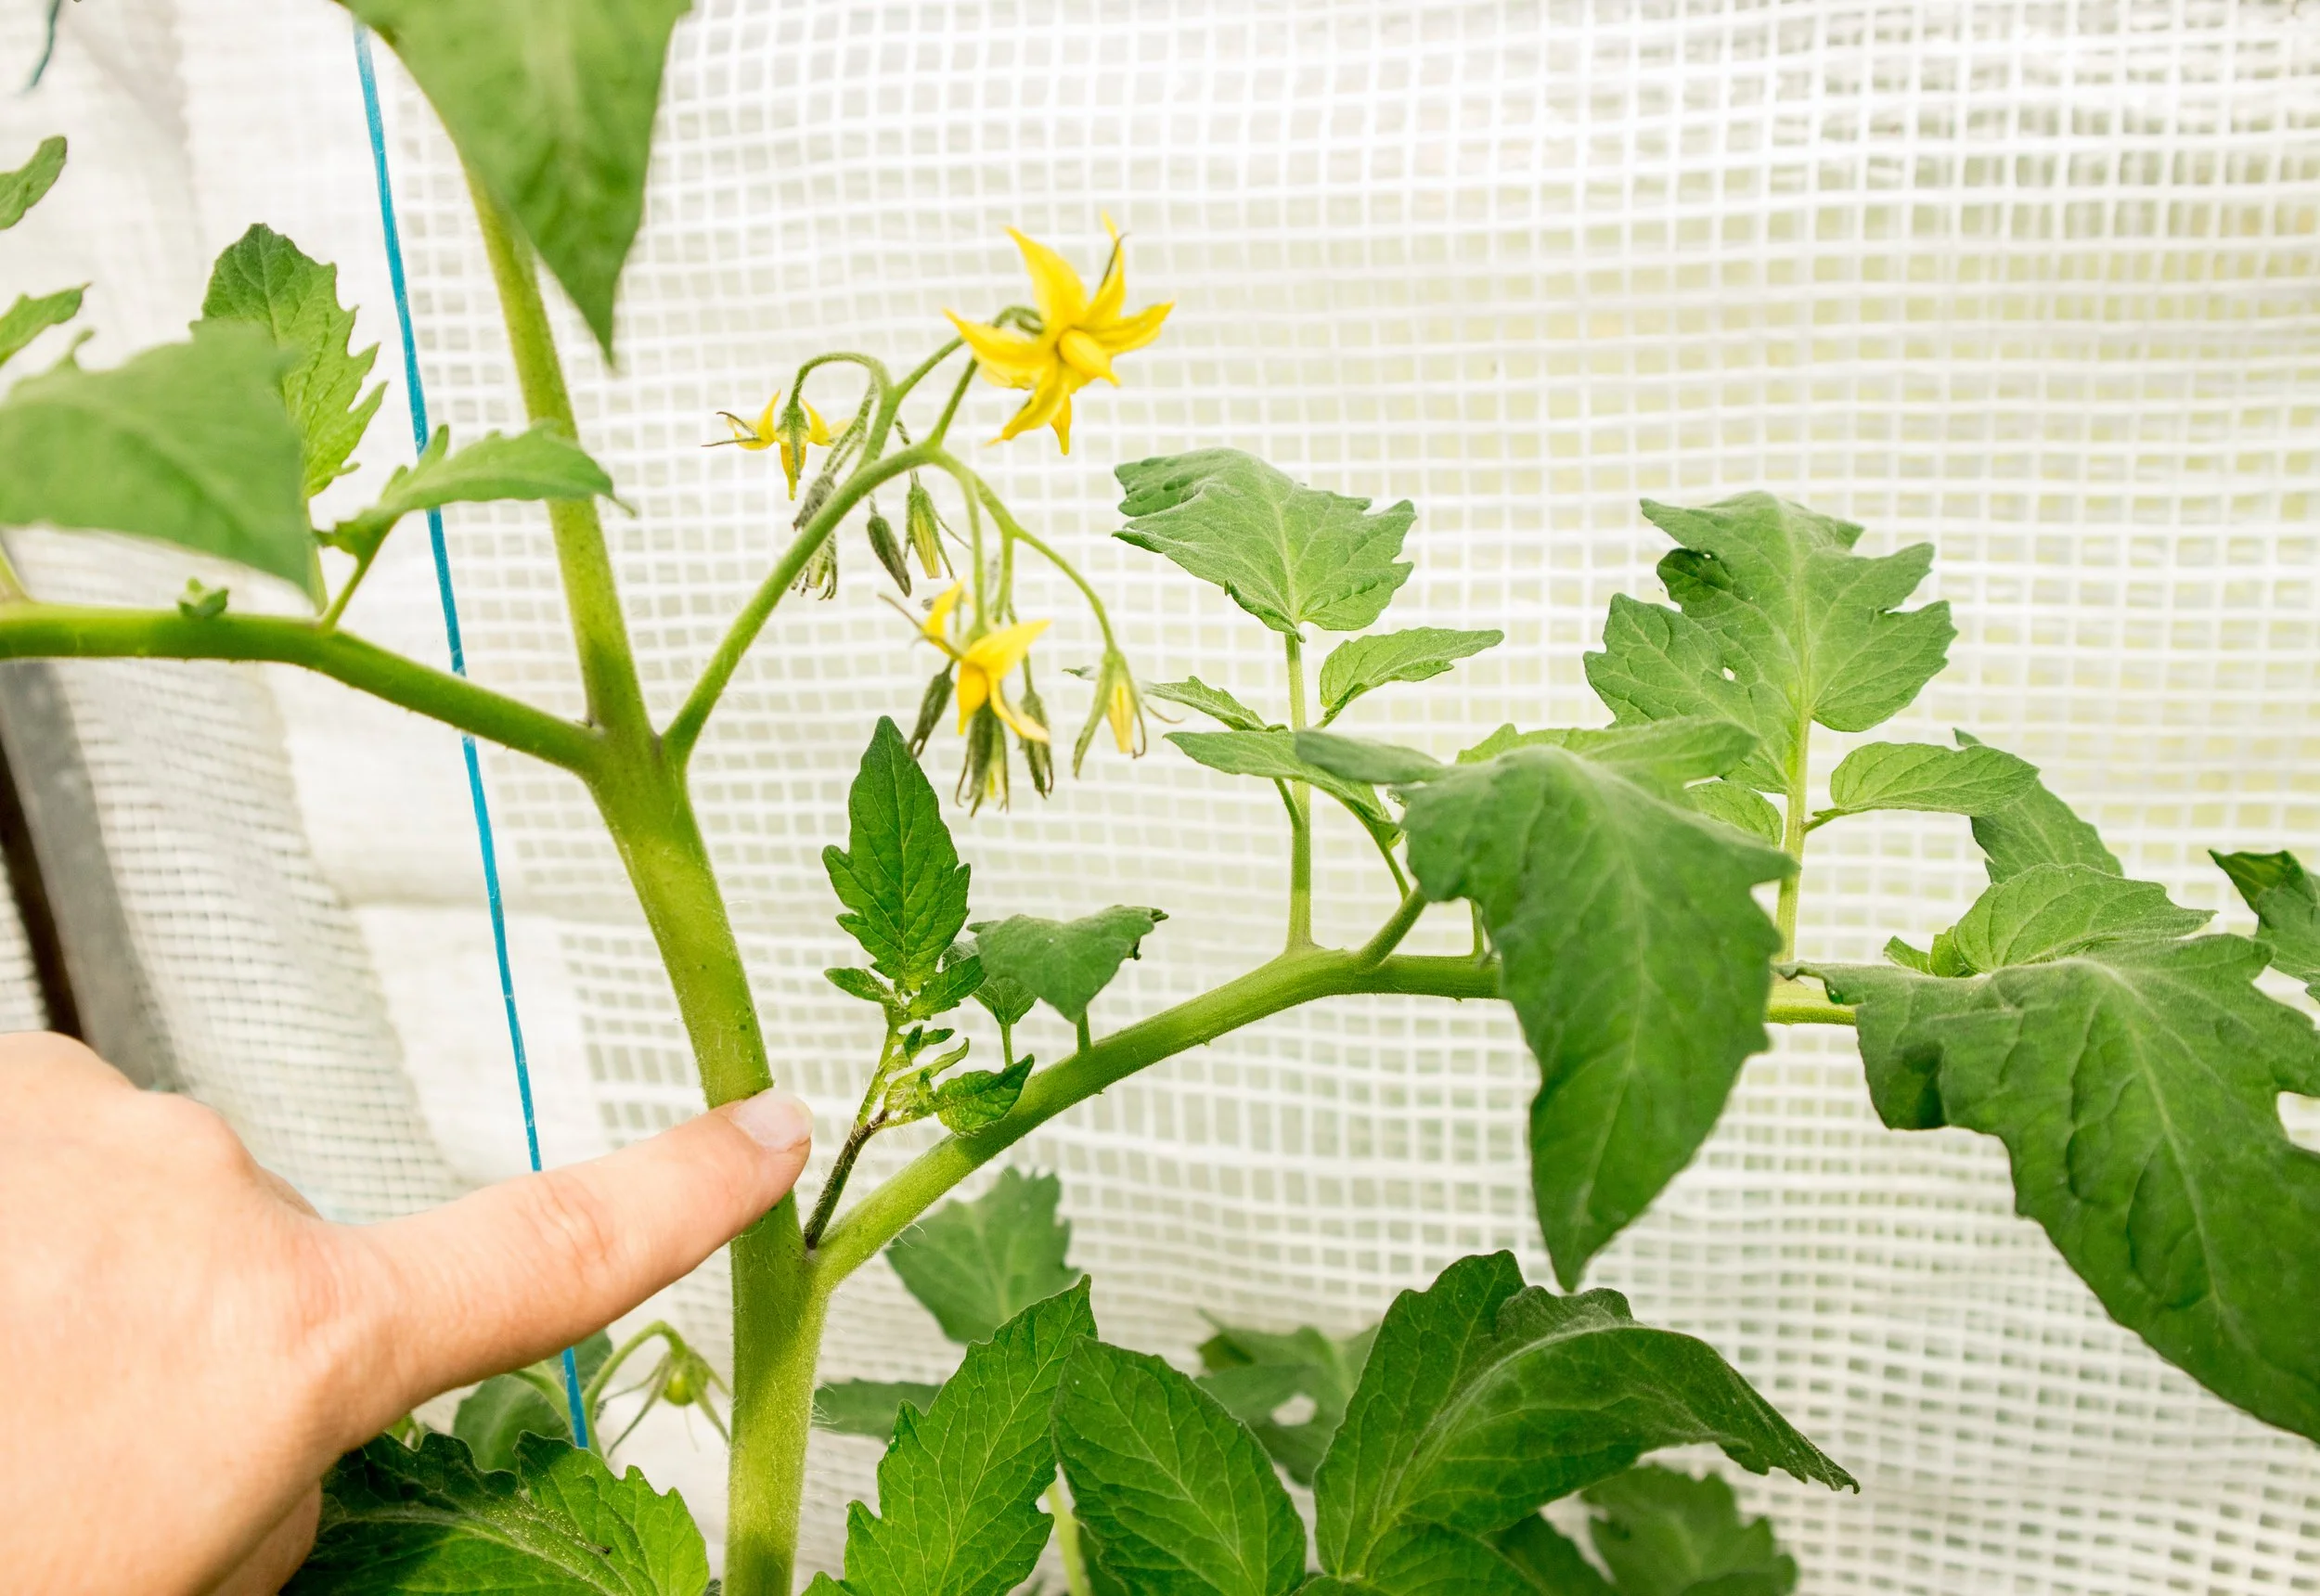
Start by identifying “suckers”—these are the new shoots that grow in the joint where a leaf meets the main stem (a.k.a. the tomato’s “armpit”). Let the sucker grow to about 3–6 inches for best results. Snip it off with clean pruners or gently break it from the plant. This little branch holds the power to become a whole new tomato plant.
Before you plant, remove any flowers or buds and clip off the bottom leaves, leaving just two at the top.

Rooting in Water
Place your cutting in a jar of water, making sure the stem is submerged by a couple of inches. Use a small glass jar or jelly mason jar for easy viewing—you’ll want to see the roots forming. Label your jars if you’re rooting multiple varieties (unless you like surprises).
Within a week, you’ll start to see small white bumps—these are the beginning of the roots. In 2–3 weeks, your cutting should be “hairy” with roots and ready for transplanting into soil.
Rooting in Soil
For stronger root development, skip the water stage and root directly in soil. Use a peat pot, a 4-inch container with damp potting soil or vermiculite, or plant directly into your garden. Make a hole in the soil with a pencil or dowel and bury the stem up to where you removed the lower leaves.
Keep the cutting in a warm, shaded area while it acclimates. After a week, gradually introduce it to more sunlight. Once it’s thriving, transplant it to its permanent home.
Bonus: Overwintering Tomato Cuttings
Live in the southern U.S. or a region with mild winters? You can take cuttings in late summer or early fall and grow them indoors during the colder months. Keep the rooted cuttings in a sunny window and transplant them outdoors in spring. This is an excellent way to preserve a favorite tomato variety without starting from seed each year.
Final Tips
Always take cuttings from healthy, productive plants with tasty fruit.
Keep cuttings well-watered after transplanting so roots can establish.
Don’t forget to label your jars or pots to track tomato varieties.
If you’re feeling adventurous, root several cuttings—you’ll be amazed at how easy it is.
Tomato propagation is one of the easiest and most satisfying ways to expand your garden. With just a little time and care, you’ll go from one plant to many—without spending a dime. Happy cloning!
Curious to see it in action? The Master Gardeners will be hosting a live demonstration on "Rooting Tomatoes" this Saturday, July 12 at the Depot! Come learn hands-on tips and ask your questions in person!